How To Make a Hand-Painted Wedding Backdrop (styled shoot Part 2)
- Holly Carton

- Feb 17, 2017
- 2 min read

Last time I started the story of our amazing Watercolor Elopement Photoshoot; today I'll be showing you how I made the giant backdrop!
Since this was a styled shoot and not a payed gig (YET!) I knew I'd have to do some serious DIY work in order to save money. Follow along and make your own! You'll need: 1 large canvas dropcloth (6x9 foot at least) - carried by Walmart
Large can of Gesso or primer - I bought the 64 oz jug from Michaels A few large paintbrushes (5" wide or so) Acrylic paint - 3 oz of Grumbacher brand was plenty for me (Michaels) Cheap plastic dropcloths - Walmart Container for water
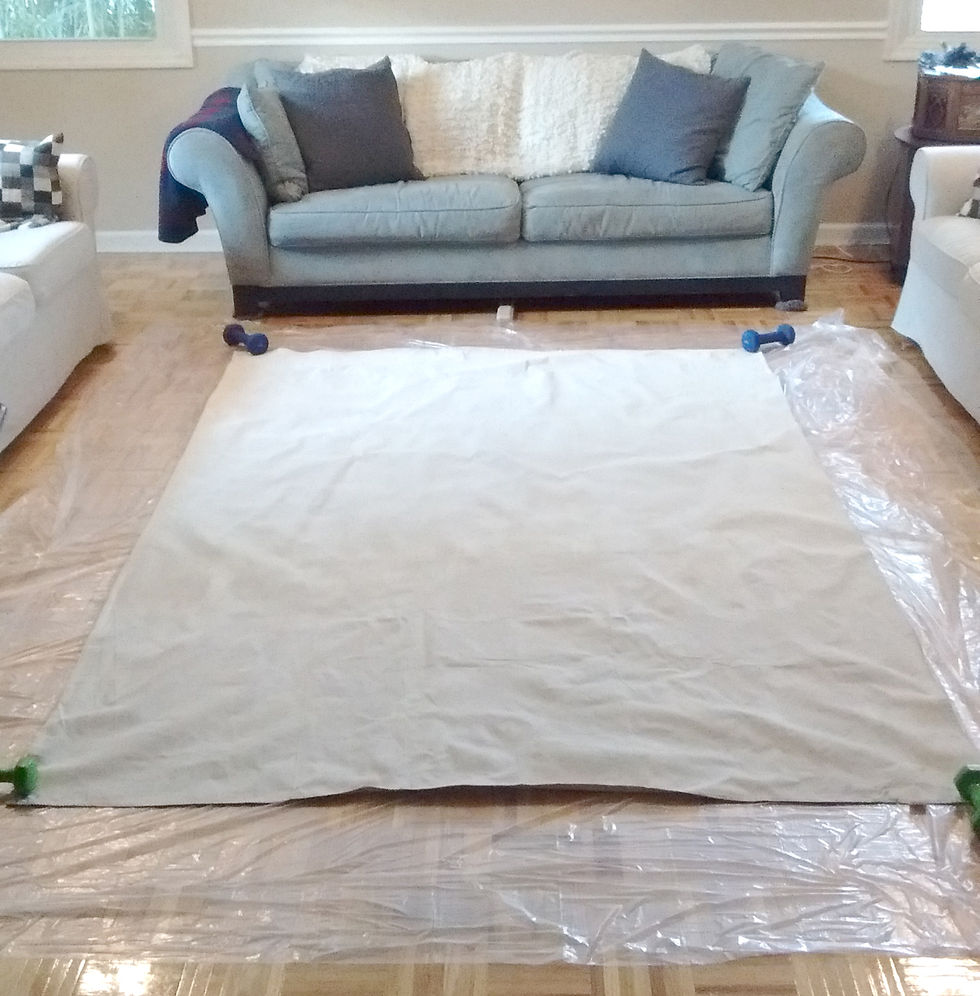
Mixing container for paint (I used the water container's lid) Since my painting style requires a lot of water and a white background, I knew I'd need to paint my canvas dropcloth with Gesso before I could get to the fun work. DO NOT water your gesso down. It can lead to flaking later on, and you want it as thick as possible anyway. I recommend washing and drying your dropcloth first; otherwise, you'll spend a while ironing out the fold wrinkles. Once you're ready to apply the gesso, either lay the canvas out on your plastic dropcloths, or hang it up over your frame (I made mine out of PVC pipes). Floor pros: You can paint the whole thing at once
Floor cons: It'll take longer to dry, and if there's a hole in your dropcloth, your floor will get messy Frame pros: Takes up less room, dries faster, and the weight can help stretch out any wrinkles Frame cons: You have to work on half at a time, and you'll still be crouching or stretching to reach different parts
Gesso all dry? Let's get to the fun part!!
Lay out your canvas on your handy-dandy dropcloths and get a container for water. In order to get a watercolor effect with acrylics, you use a LOT of water! Pour water out onto the top of your canvas and spread back and forth with your large brush. Once you've thoroughly wetted the top band, add in some watered-down acrylic paint and spread it back and forth with your brush.


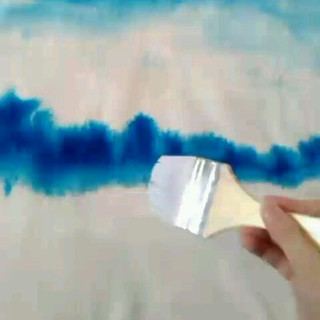
Work your way down the whole canvas. For an ombre effect, add more paint to your paint:water ratio so that the top is light and the bottom darker.

As you can see, the paint spread in random patterns (called 'blooms' in watercolor), and you may even see the paint push away from different dot-like areas, as if you sprinkled salt over it. That's just part of the beauty of working this way! It's different every time!
You can stop here and it's beautiful - OR you can do you like I did and use this as the background for a painting!


And here's the finished product!

Don't want to go to the hassle of making your own backdrop? I'd be more than happy to make you a fully custom one! Contact me for a quote! Next time I'll show how I made the PVC pipe frame! Read Part 1 of the Styled Shoot Saga HERE
Save


Comments